Lesson 1 of 8
What is vibe coding?
Understanding the approach before you pick up any tools.
Vibe coding is building software by describing what you want in plain English. An AI assistant writes all the code. You direct — it builds.
DESCRIBE → AI BUILDS → REVIEW → ITERATE
You describe what you want. The AI writes the code. You review the result. You ask for changes. Repeat until it's right.
This isn't a simplified version of "real" programming. It's a different way to build software that happens to require very little prior technical knowledge. The skills you already have — clear thinking, structured problem-solving, knowing what good looks like — are exactly what vibe coding requires.
What you can build
Corporate professionals with no coding background have used this approach to build:
- Internal tools that replace slow manual processes (expense tracking, report formatting, data cleaning)
- Personal productivity apps (note-taking systems, custom dashboards, aggregators)
- Proof-of-concept prototypes to present to engineering teams
- Scrapers and automations that connect to external APIs
If you can describe what you want in plain English, you can build it. See the Projects section for real examples built this way.
The tools you'll use
You'll work with two kinds of AI tool throughout this course:
- A coding CLI — an AI agent that runs inside Terminal and can read, write, and execute code on your computer. This is the workhorse for building.
- A desktop chat app (optional) — a Claude- or ChatGPT-style chat window for thinking out loud, pasting screenshots, and iterating on design before you build.
For each one there are two strong options. You'll pick whichever you prefer in the next lesson.
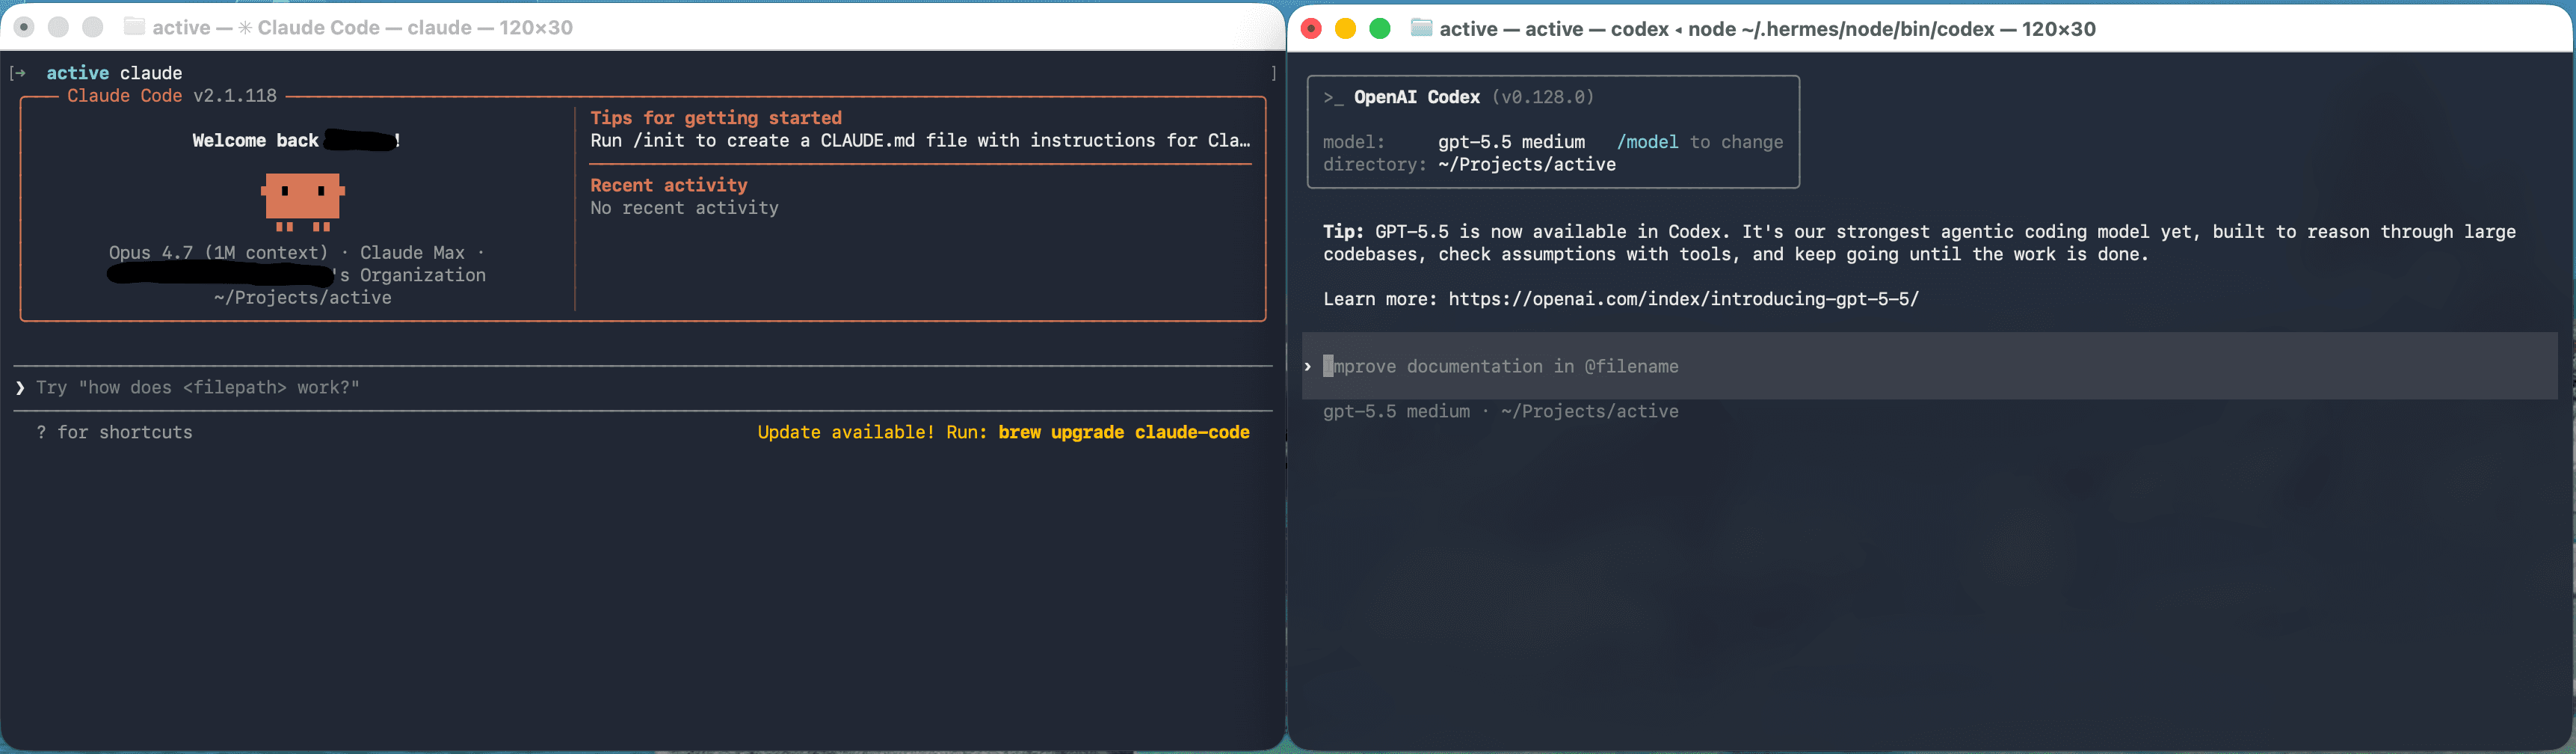
| Layer | Anthropic | OpenAI |
|---|---|---|
| Coding CLI | Claude Code | Codex CLI |
| Desktop chat | Claude Desktop | Codex Desktop |
Either CLI works for everything in this course — the install commands differ slightly, but the way you talk to them is the same. The same goes for the desktop apps.
You can switch later. Many people end up using both — Claude Code for one project, Codex CLI for another, or even both side by side. Nothing in this course locks you in.
What a coding CLI actually does
Unlike a chat-only interface (claude.ai or chatgpt.com), a coding CLI can:
- Read and write files on your computer
- Install software
- Run code to test whether it works
- Fix its own errors
This makes it far more capable than a chat interface for actually building things. You describe what you want, and the agent builds it — file by file, step by step — checking its work as it goes.
Why you need to open Terminal once
There's one unavoidable step: the CLI itself needs to be installed, and to install it you need to open Terminal (the app that lets you type instructions directly to your Mac) and run a few commands.
You'll do this once. After that, everything else can be directed in plain English.
You do not need to understand Terminal. You are copying and pasting a few things into it and pressing Enter. That is all. This course walks you through every single step.
The four steps at a glance
Lesson 2   Pick your CLI (Claude Code or Codex CLI)
Lesson 3   Open Terminal on your Mac
Lesson 4   Paste one command to install Homebrew
Lesson 5   Install Node and your chosen CLI
Lesson 6   Run the CLI and paste the setup prompt
           ↳ Your AI agent sets up everything else automatically
After Lesson 6, your Mac will have: Homebrew, Node.js, Git, GitHub CLI, and your chosen coding CLI — all configured and ready. You'll be able to build.
The next lesson covers what you need before you start, and helps you choose between the tool options.