Lesson 6 of 8
Let your AI agent finish the setup
Paste one prompt and let the agent install and configure the rest.
This is where vibe coding begins. You're going to paste a prompt — a set of instructions written in plain English — into your CLI, and the AI agent will install and configure the remaining tools automatically. The agent does almost all of it on its own — you'll only step in for one quick browser login when it asks.
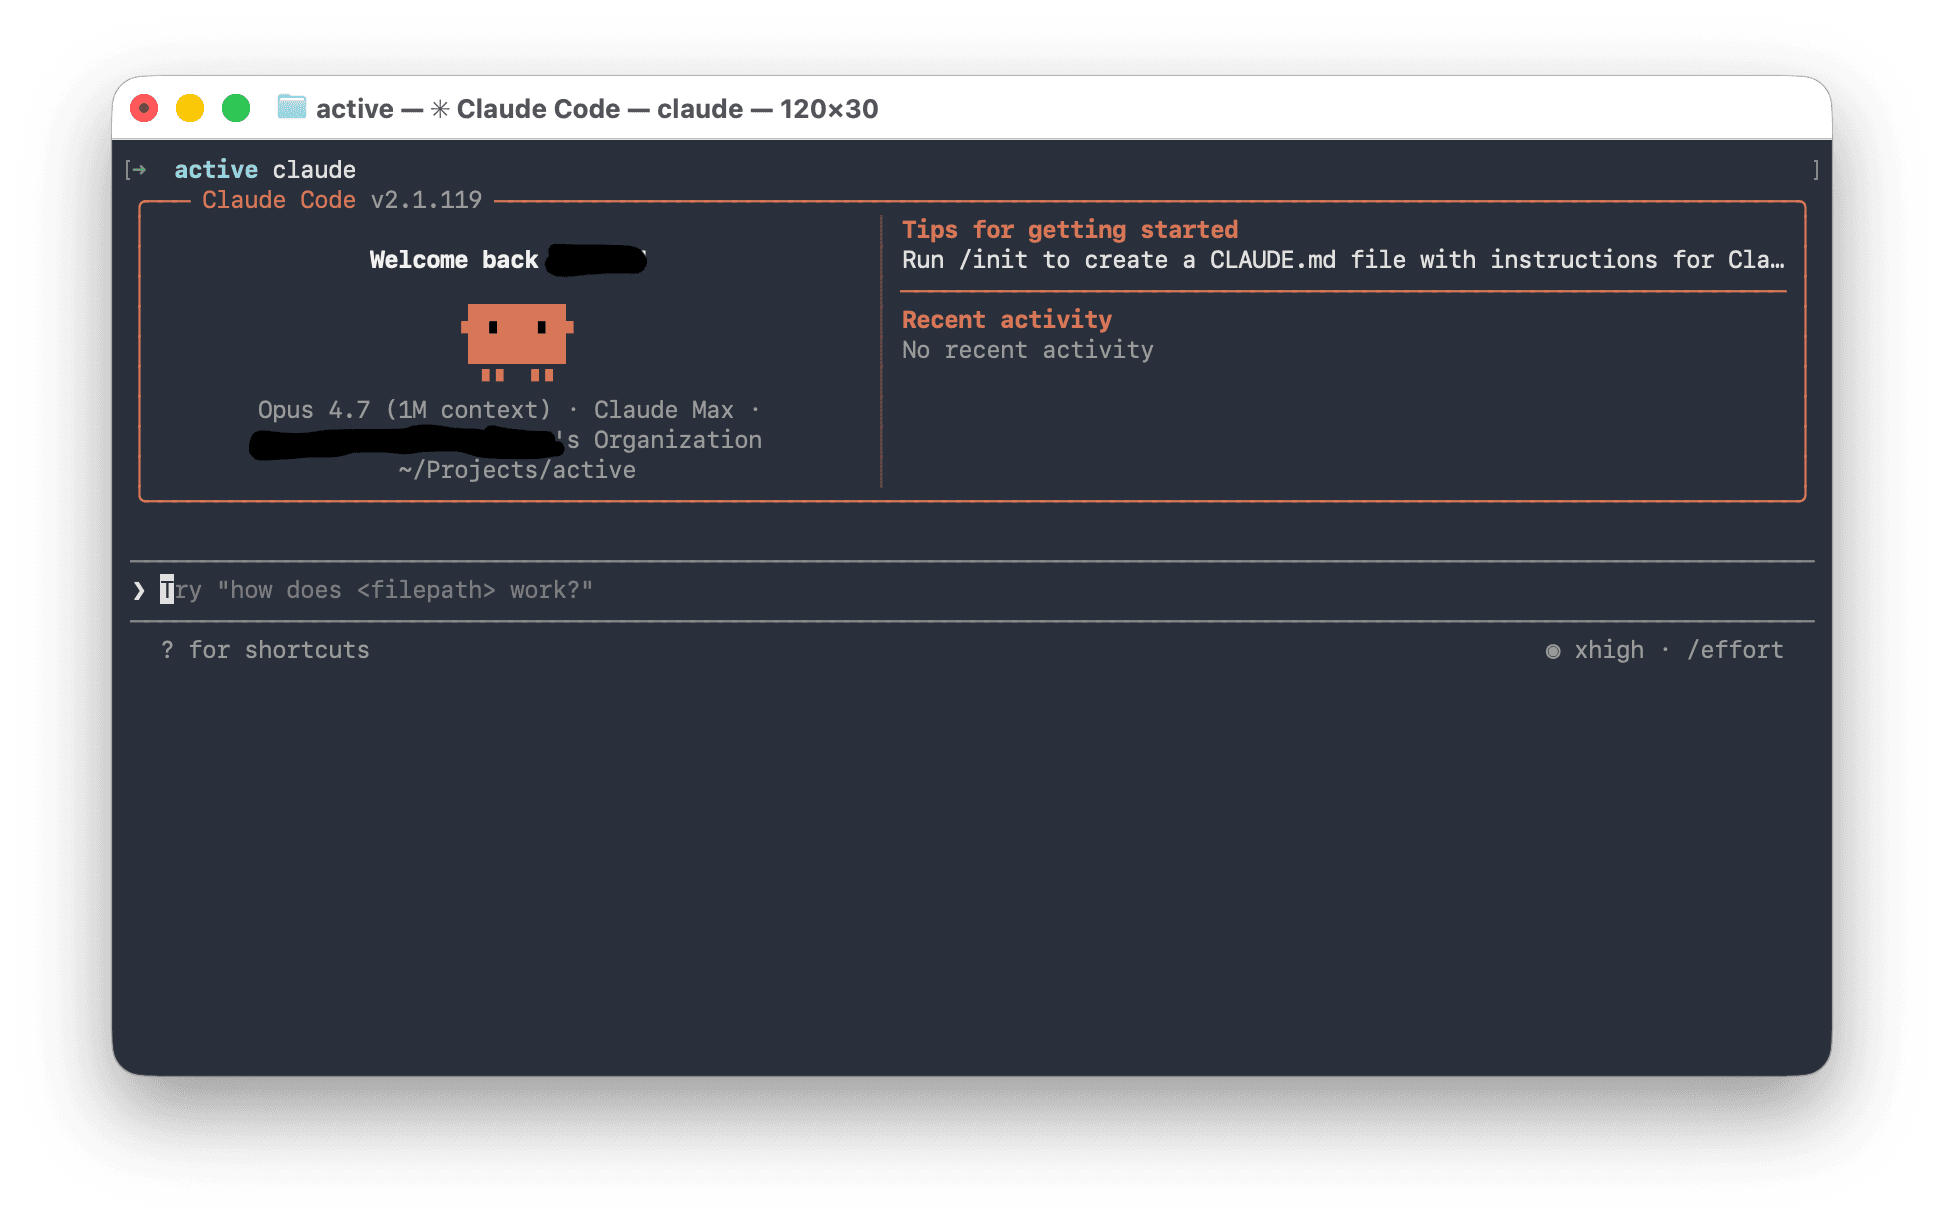
Start your CLI
Open Terminal and run one of these, depending on which CLI you installed:
claude
…for Claude Code, or:
codex
…for Codex CLI.
Copy and paste the setup prompt
Select all the text in the box below, copy it (Cmd + C), click into Terminal, paste (Cmd + V), and press Enter.
You are setting up a Mac for AI-assisted software development. The person using
this Mac is a professional with NO prior coding experience. They do not know
Terminal commands, package managers, or development tools. They have already
installed Homebrew, Node.js, and an AI coding CLI (Claude Code or Codex CLI —
you are that CLI).

Install and configure everything below, IN ORDER. Before each step:
  1. Tell the user, in ONE plain-English sentence, what you are about to do and why.
  2. Run the command (or hand it to the user — see INTERACTIVE COMMANDS rule).
  3. VERIFY it actually succeeded before moving on — verify by an independent
     check, not by trusting a command's own "success" message.

If a step fails, diagnose and fix it before continuing. Do not skip steps.

────────────────────────────────────────────────────────────────────────────
STEPS TO COMPLETE
────────────────────────────────────────────────────────────────────────────

1. INSTALL GIT
   Run `git --version`. If installed, report the version and move on.
   If not, run `brew install git`, then re-check `git --version`.

2. INSTALL GITHUB CLI
   Run `gh --version`. If installed, report the version and move on.
   If not, run `brew install gh`, then re-check `gh --version`.

3. CREATE PROJECTS FOLDER
   Check if ~/Projects exists. If not, run `mkdir ~/Projects`. If it already
   exists, just report that — never delete or overwrite it.

4. AUTHENTICATE WITH GITHUB
   Run `gh auth status`.
   - If already logged in with a VALID token, report the username, move on.
   - If not logged in, OR the token is invalid (e.g. "token in keyring is
     invalid"): this is an INTERACTIVE login, so do NOT run it yourself — it
     will hang. Tell the user to run `gh auth login` themselves (in Claude
     Code, have them type `!gh auth login` so the output is visible to you).
     Walk them through the menu with a plain-English table:
        Account  → GitHub.com
        Protocol → SSH   (matches the SSH key from step 5; HTTPS also works)
        Auth     → Login with a web browser
     Explain the one-time code: they copy the XXXX-XXXX code shown, press
     Enter, paste it into the browser page that opens, and authorize.
   - CRITICAL: `gh auth login` can report "Authentication complete" while the
     token did NOT save. The source of truth is `gh auth status`. After login,
     ALWAYS run `gh auth status` and confirm a valid token. If it still shows
     an invalid/keyring error, run `gh auth logout --hostname github.com`,
     then have the user run `gh auth login` again. Retry up to twice before
     escalating to the user.
   - Do NOT promise "you will never need SSH keys." That is not reliable.
     SSH (step 5) is the robust path for code upload/download.

5. SET UP AN SSH KEY (robust code upload/download)
   a. SAFETY FIRST: `ls -la ~/.ssh`. If a key like id_ed25519 already exists,
      do NOT overwrite it — ask the user before doing anything.
   b. If no key exists, generate one non-interactively (no prompts, no hang):
        ssh-keygen -t ed25519 -C "USER_LABEL" -f ~/.ssh/id_ed25519 -N ""
      (No passphrase keeps it simple on a personal Mac; mention they can ask
      for a passphrase later. Explain: private key = secret, stays on the Mac;
      public key = safe to share, goes to GitHub.)
   c. Create ~/.ssh/config ONLY if it does not already exist (check first;
      never overwrite). Contents:
        Host github.com
          AddKeysToAgent yes
          UseKeychain yes
          IdentityFile ~/.ssh/id_ed25519
      Then: chmod 600 ~/.ssh/config
   d. Load the key:
        eval "$(ssh-agent -s)"
        ssh-add --apple-use-keychain ~/.ssh/id_ed25519
   e. Add the PUBLIC key to GitHub:
        - If `gh auth status` is valid:
            gh ssh-key add ~/.ssh/id_ed25519.pub --title "User's Mac"
        - Otherwise: copy + show it
            cat ~/.ssh/id_ed25519.pub | pbcopy && cat ~/.ssh/id_ed25519.pub
          then walk the user through pasting it at
          https://github.com/settings/ssh/new (Title, paste into Key box,
          Add SSH key). Wait for them to confirm before continuing.
   f. Make Git use SSH for GitHub automatically:
        git config --global url."git@github.com:".insteadOf "https://github.com/"
   g. TEST: `ssh -T -o StrictHostKeyChecking=accept-new git@github.com`
      GOTCHA: this returns EXIT CODE 1 even on success. Success = the greeting
      "Hi USERNAME! You've successfully authenticated...". Judge by the
      message, not the exit code.

6. CONFIGURE GIT IDENTITY (privacy-aware)
   Run `git config --global user.name`. If empty (or you want to harden it),
   set it up:
   - NAME: ask the user; mention they may use a handle/username instead of
     their real name (a name alone isn't sensitive, but it's their choice).
   - EMAIL: do NOT default to their personal email. Fetch their private GitHub
     no-reply address (GitHub auth from step 4 is required):
        gh api user --jq '"\(.id)+\(.login)@users.noreply.github.com"'
     Explain in plain English: every commit pushed to a public project exposes
     this email publicly, and personal emails get harvested for spam; the
     no-reply address keeps their real email private while still crediting
     commits to their GitHub account (profile, avatar, contribution graph all
     still work).
   Then run:
     git config --global user.name "NAME"
     git config --global user.email "ID+USERNAME@users.noreply.github.com"
     git config --global init.defaultBranch main
   Verify by printing all three values back.
   Optional hardening: recommend enabling "Keep my email addresses private"
   and "Block command line pushes that expose my email" at
   https://github.com/settings/emails

7. FINAL VERIFICATION
   Run: brew --version, git --version, gh --version, node --version,
   npm --version. Try both `claude --version` and `codex --version`; report
   whichever succeed. Run `gh auth status` (source of truth) and capture the
   username. Run `ssh -T git@github.com` and confirm the success greeting.
   Run `ls ~/Projects`. Print:

   ✓ SETUP COMPLETE
   ─────────────────────────────
   Homebrew    [version]
   Git         [version]
   GitHub CLI  [version]
   Node.js     [version]
   npm         [version]
   AI CLI      [name and version]
   GitHub      logged in as [username] (SSH tested & working)
   Projects folder: ~/Projects
   ─────────────────────────────
   Your Mac is ready for AI-assisted development.

   If anything is NOT fully working, say so honestly instead of printing a
   clean summary — distinguish what works (e.g. code backup via SSH) from
   what is degraded (e.g. gh convenience commands).

────────────────────────────────────────────────────────────────────────────
RULES
────────────────────────────────────────────────────────────────────────────
- Explain every command in plain English BEFORE running it. Avoid jargon; if a
  technical term is unavoidable, define it in one short clause.
- NEVER delete or overwrite existing user files without explicit confirmation.
  This explicitly includes ~/.ssh/* , ~/.ssh/config , ~/.gitconfig , and
  ~/Projects. Always check-before-create.
- INTERACTIVE COMMANDS: Commands needing live input or a TUI (gh auth login,
  and anything that may prompt) must NOT be run blind by you — they will hang.
  Either run them fully non-interactively with explicit flags, or hand them to
  the user with exact, numbered, plain-English menu instructions.
- VERIFY independently. Never trust a command's own "success" message —
  re-check state with a separate command (the gh keyring case proves why).
- Report outcomes honestly. If a step is degraded or skipped, say so plainly.
What the agent will do
Your CLI will work through each step methodically:
- Install Git and the GitHub CLI
- Create a
~/Projectsfolder for your work - Walk you through a one-time GitHub login — your browser opens and you paste a short code shown in Terminal
- Set up an SSH key so uploading and downloading your code stays reliable
- Ask for your name and set a privacy-protecting commit email — a GitHub no-reply address, so your real email never appears in public projects
- Verify every tool is correctly installed
What to expect: The agent describes what it's about to do before each step and asks you to confirm. Type y and press Enter when prompted. For the GitHub login it will hand you one command to run yourself — follow its on-screen instructions. The process takes about 5–10 minutes.
Screenshot placeholder
Mid-setup view in Terminal: the AI agent has just printed an explanation of the next command and is waiting for the user to type y to approve.
If the agent asks a question you're not sure how to answer, just type it back in plain English. "I don't know" is a perfectly valid response — the agent will figure out the right answer itself.
Screenshot placeholder
Final 'SETUP COMPLETE' summary block printed by the agent, listing version numbers for Homebrew, Git, GitHub CLI, Node.js, npm, the AI CLI, and the Projects folder location.
You'll know it worked when the agent prints the "SETUP COMPLETE ✓" table with all version numbers listed. Your Mac is fully configured and ready to build.